hello@yurtinthedirt.com.au
 +61 489 269 088


 0 Comments
 Share
Share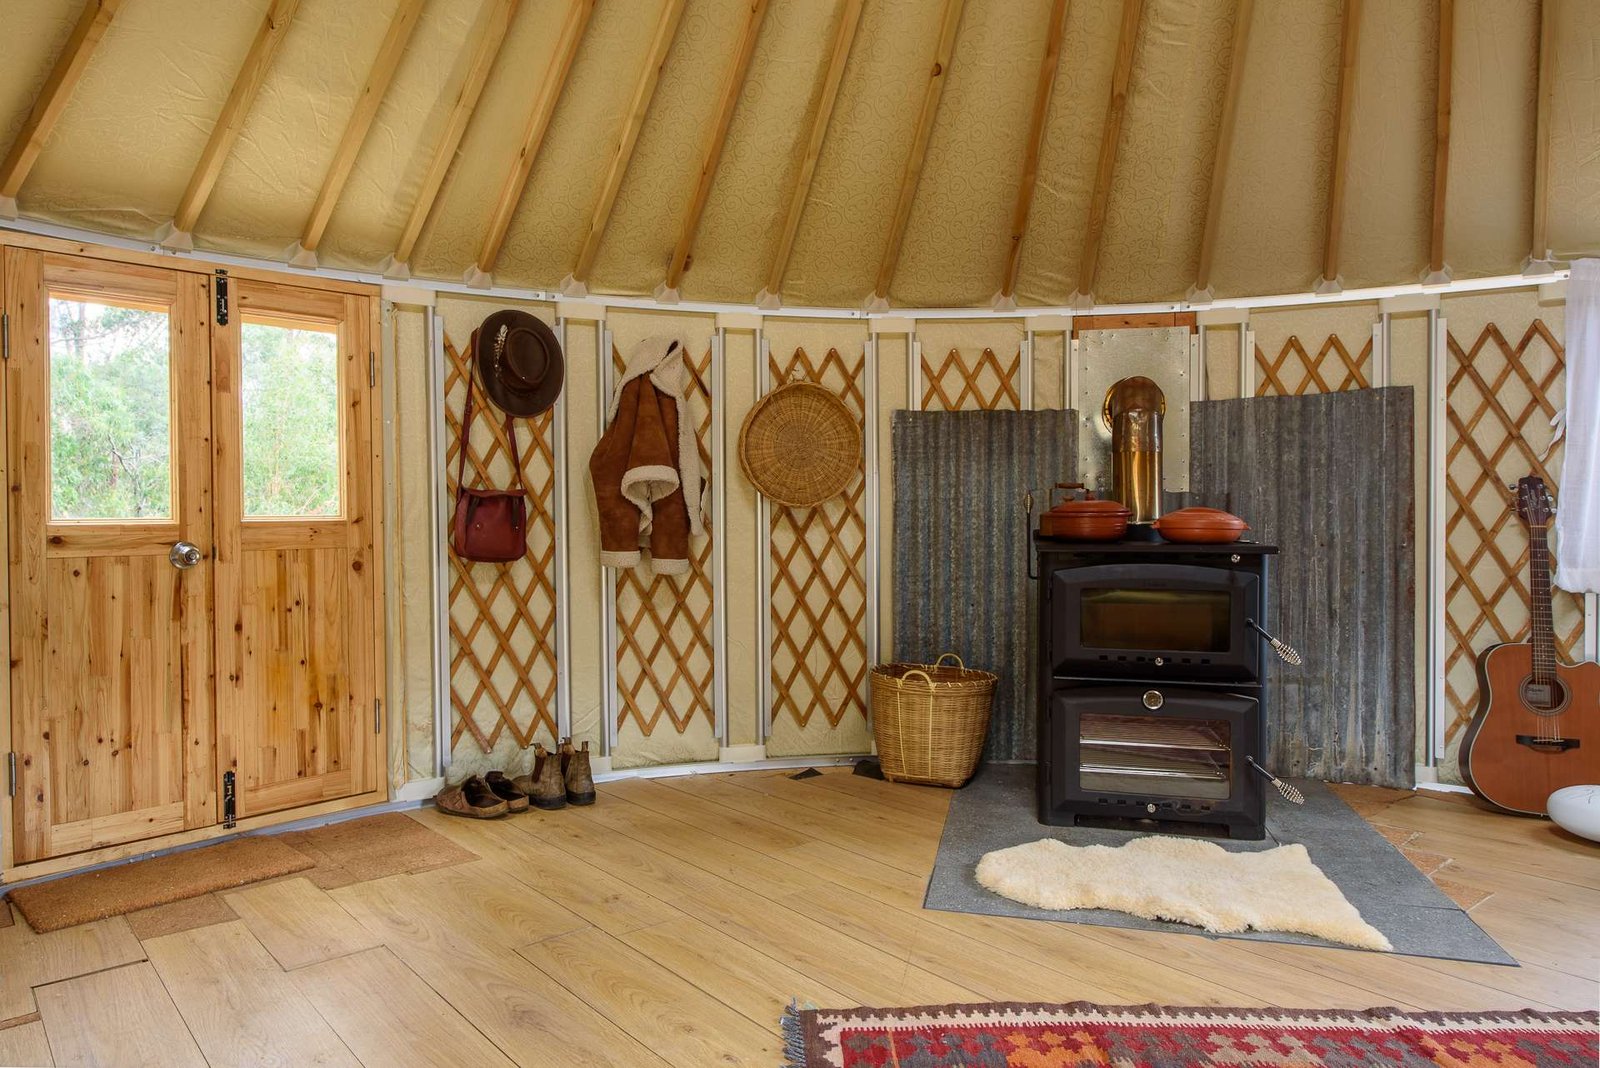
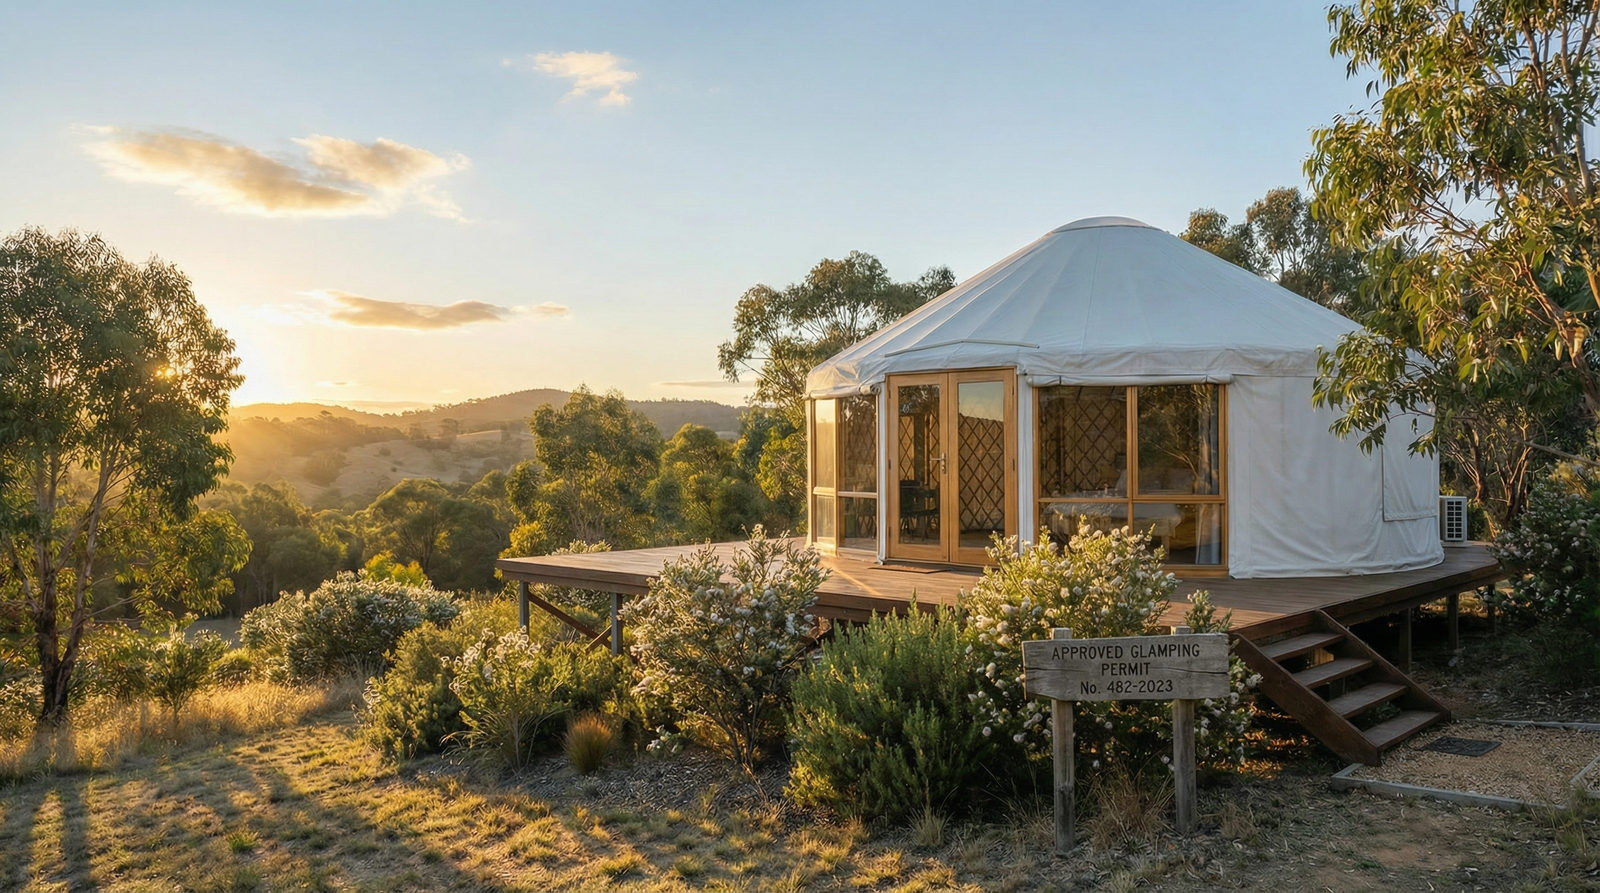
Heating a Yurt: How to Stay Warm in an Aussie Winter
It is the middle of June here in Denmark, Western Australia, the rain is coming in sideways off the Southern Ocean, and I’ve had the same question a few times this week. Heating a yurt through an Australian or New Zealand winter sounds like a battle, but a well set up yurt or dome is one of the easiest small spaces to keep warm, and once you understand a few basics you can do it cheaply, safely, and without freezing your toes off on a frosty morning.
We have spent years helping Aussies and Kiwis get their yurts and domes comfortable, from alpine conditions to wet southern WA winters. This guide covers what actually works: which heaters suit a yurt, what heating a yurt costs to run, how to size them, and the safety info you cannot skip when you put a fire inside a fabric roof.
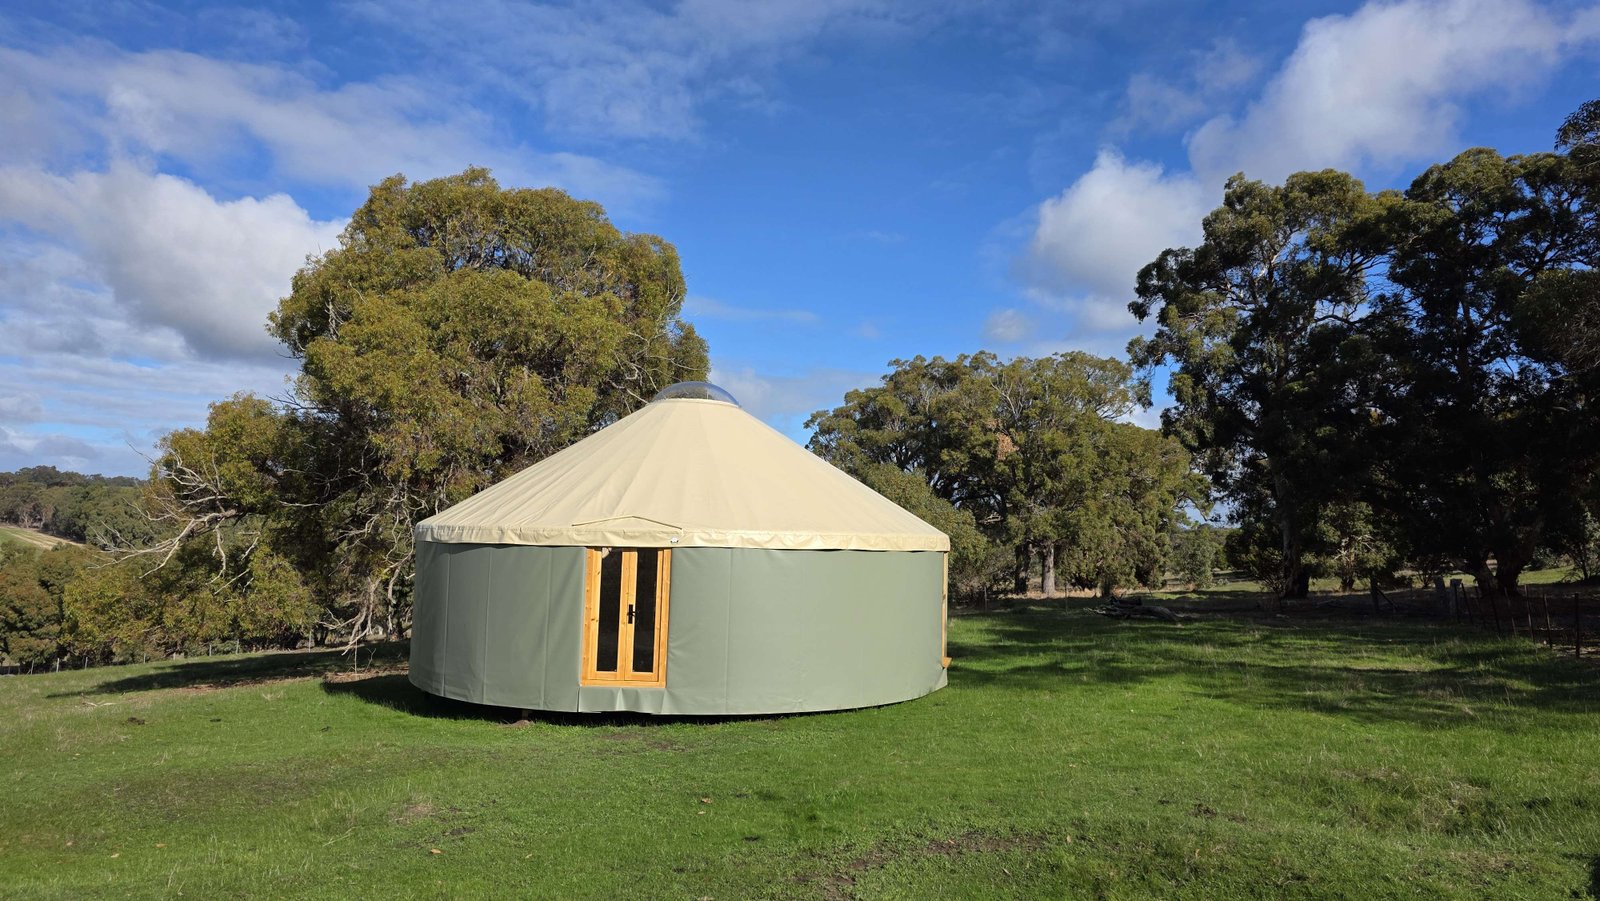
Quick context: Our yurts and domes come insulated as standard, and you can double the insulation for cold climates. That single fact changes the whole heating conversation, because you are warming a snug, compact space, not a leaky tent.
Why heating a yurt is easier than people expect
A yurt or dome has a few things going for it that a square room does not. The round shape has no cold corners for heat to get trapped in, and warm air circulates evenly instead of pooling in one spot. The volume is small, so a modest heater fills it fast. And because the walls and roof carry a proper insulated layer, that heat stays put even after you have stopped feeding the fire (unlike a bell tent or a safari tent). That is why heating a yurt takes less grunt than you might think.
Compare that to a standard house. You are paying to warm hallways you walk through twice a day and bedrooms you never use. In a 6m dome or an 8m yurt, every kilowatt of heat is doing useful work right where you are sitting. Heating a yurt this small is genuinely efficient. I have clients in cold parts of the country running a single small heater and staying comfortable on nights that drop below zero.
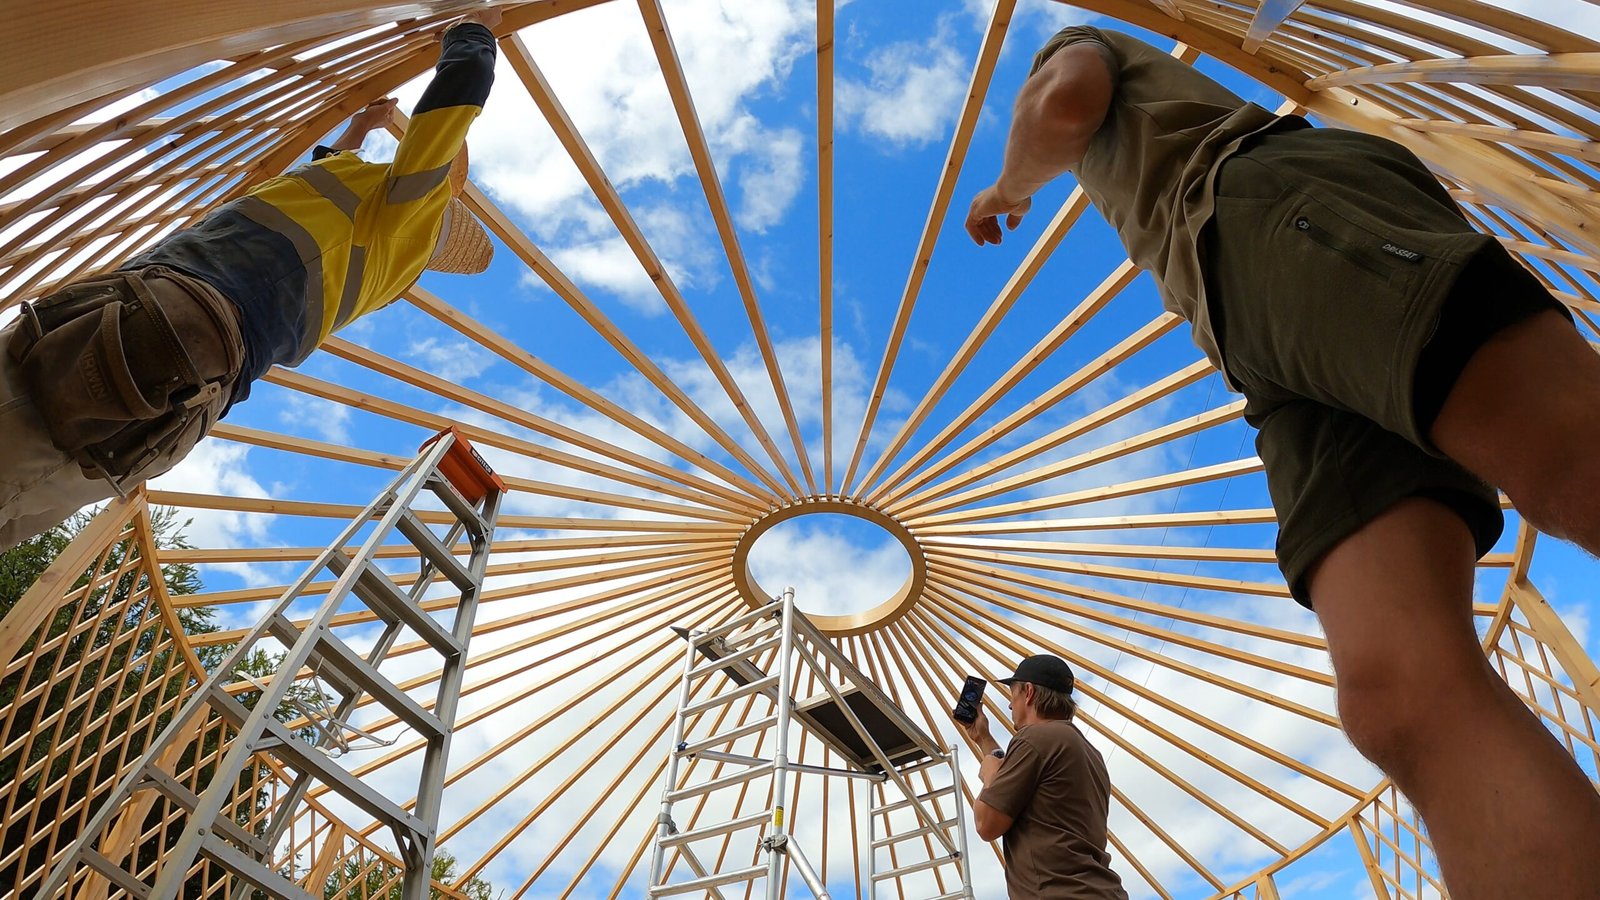
The catch is that all of this only holds if the structure is set up right. A cheap single-skin tent with no floor insulation will fight you all winter, no matter what heater you bolt on, so heating a yurt well starts with the structure. So before we talk about heaters at all, we need to talk about the building.
Sort the building before you sort the heater
This is the part people skip, and it is the part that decides whether your winter is comfortable or miserable. When heating a yurt, a warm heater covers for a cold structure the same way a bigger engine covers for a heavy car. It works, but you pay for it in fuel and frustration. Get these three things right and you can run a much smaller, cheaper heater.
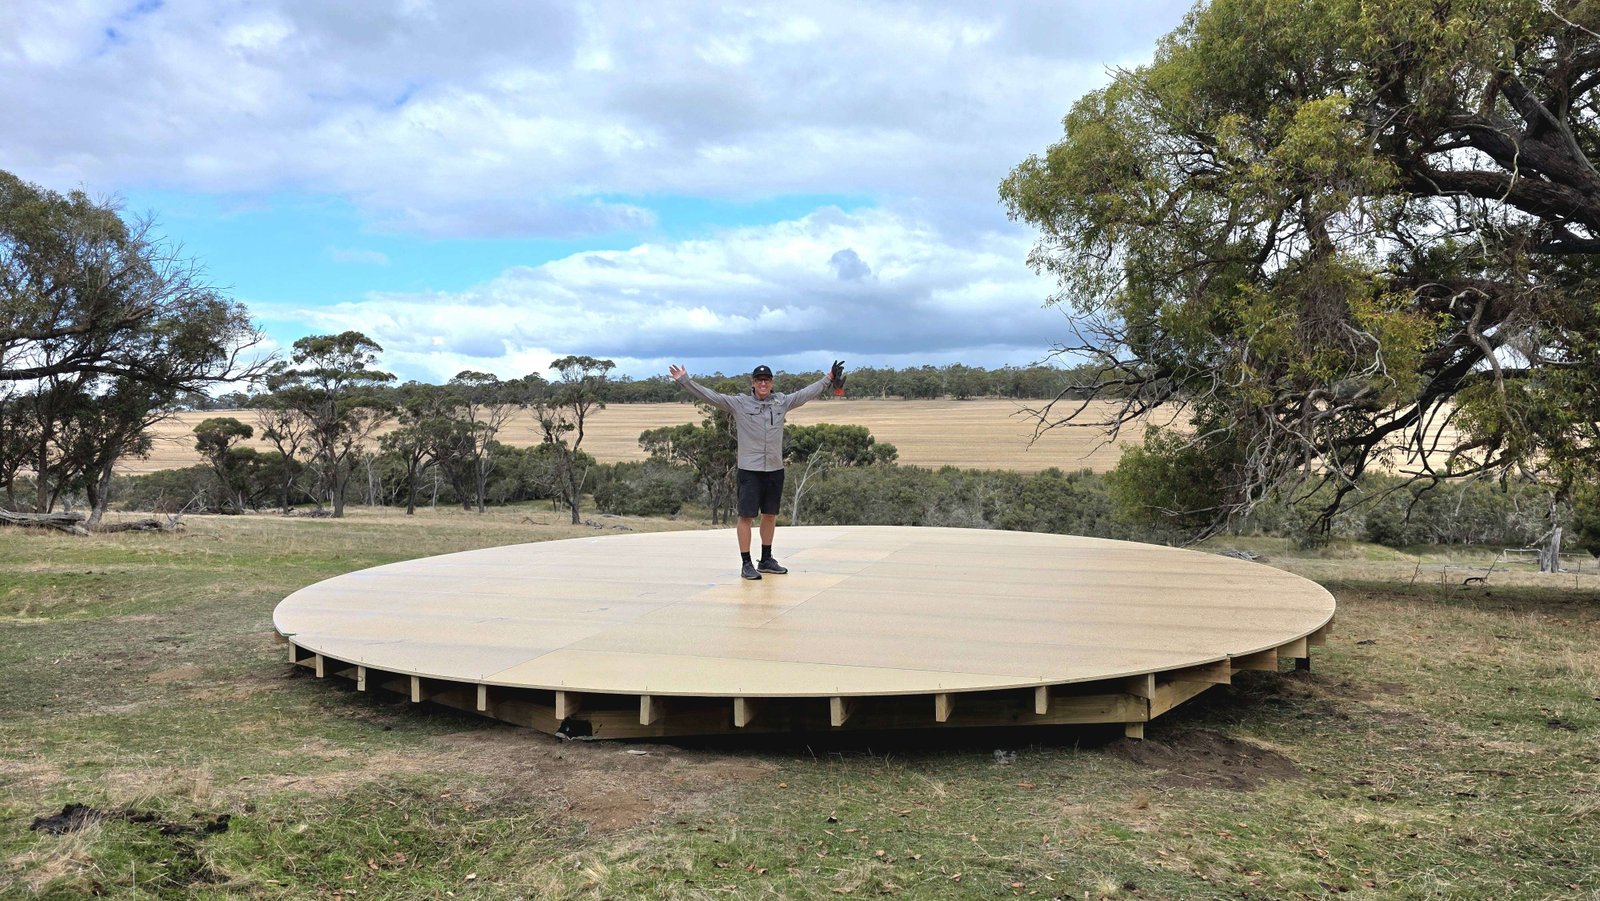
Cold rises through the floor faster than almost anywhere else, and a freezing deck will undo a beautifully insulated yurt. I like to see insulation batted between the joists of a timber deck, or insulated sub-floor panels (like SIP panels) that stop cold air circulating under your living space. Our decking plans are easy to adapt if you want to build floor insulation in from the start, and it is far easier to do then than to retrofit later. If you want the full rundown on getting the base right, read our yurt platform guide. Even simple wins help here: a thick rug with underlay over an insulated deck makes a real difference underfoot.
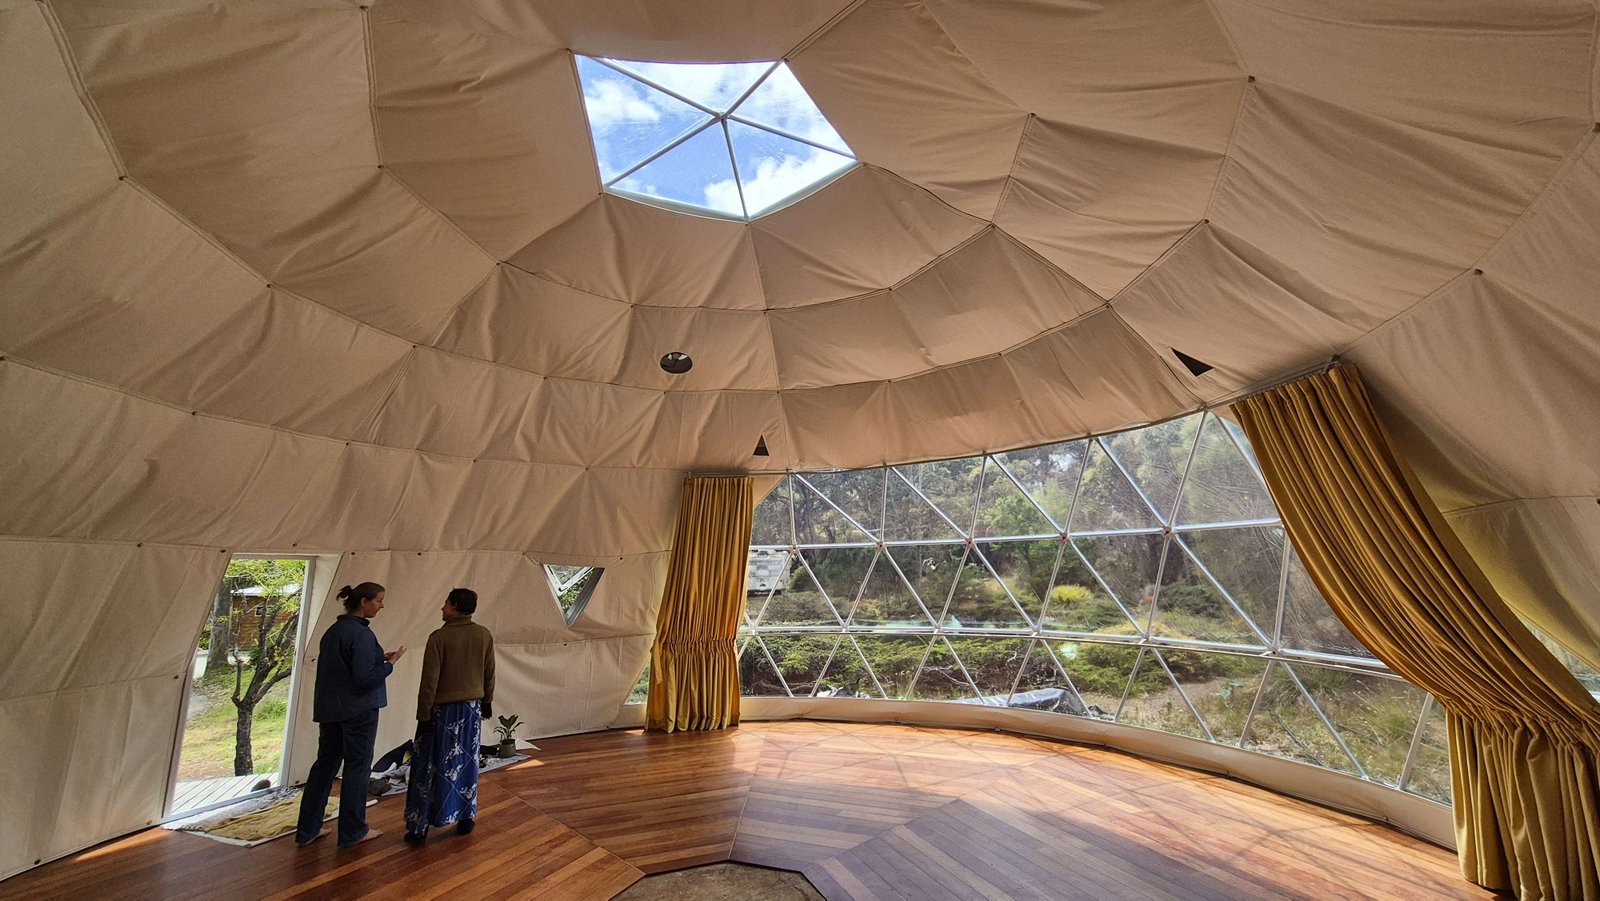
You want consistent coverage with no gaps around windows, the door, or the roof ring, plus an inner liner that stops drafts and creates a calm layer of air around you. If you are in a genuinely cold region, doubling the wall and roof insulation is money well spent. I go much deeper on how the layers work in our companion piece, are yurts hot in summer or cold in winter, which is worth a read alongside this one.
You want to keep cold draughts out, but you still need controlled ventilation so moisture can escape. You need proper opening windows and enough of them. Depending on the size of your yurt we will recommend the number of windows or doors to provide adequate ventilation (unlike a lot of traditional yurts), that way you can vent the yurt if you’re cooking or if you’re producing a lot of condensation, but you can also seal it up when you have the fire going.
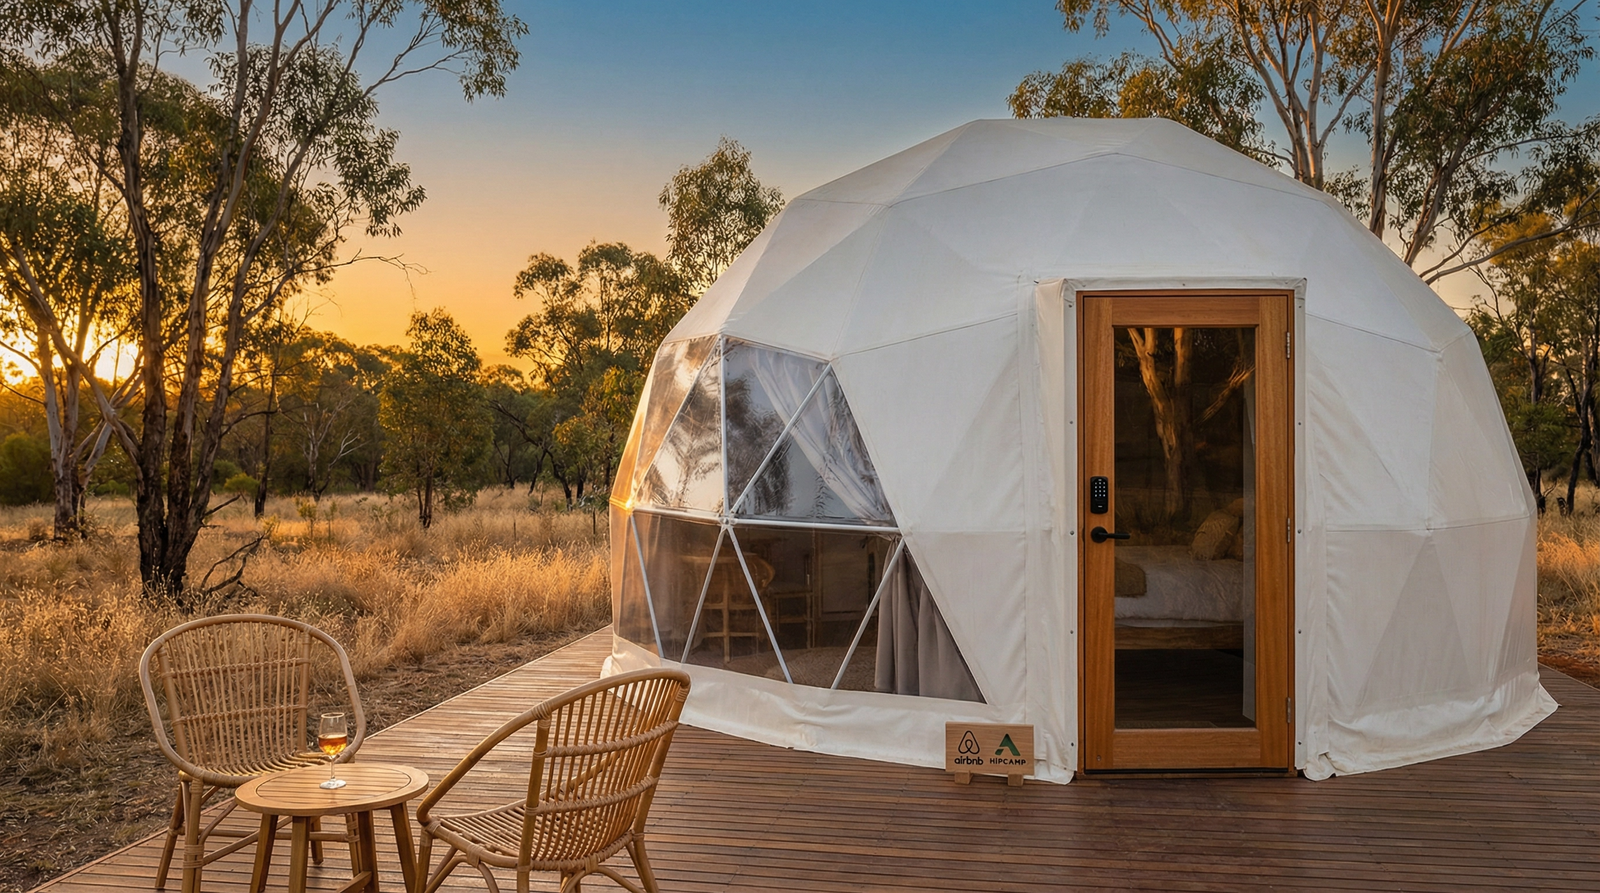
The best options for heating a yurt or dome
Most of our clients land on one of four heaters, or a combination of two. There is no single right answer for heating a yurt. The best choice depends on whether you are on grid or off grid, how often you use the space, and whether you want the ambience of a real flame or just reliable warmth at the flick of a switch. Here is how they stack up.
| Heater type | Best for | Upfront cost | Off-grid friendly? |
|---|---|---|---|
| Wood heater | Ambience, full-time living, cold regions | $900-$2,500 plus flue kit | Yes, uses no power |
| Diesel heater | Hands-off warmth, limited power, glamping | $400-$2,500 installed | Yes, sips power, runs on diesel |
| Reverse-cycle split | Heating and cooling in one, on-grid or good solar | $700-$1,800 installed | Only on a well-sized system |
| Electric panel / oil column | Occasional studio use, on-grid spaces | $80-$300 | Not really, chews power |
Now the honest version of each for heating a yurt, including the unique details that product pages tend to leave out.
Wood heater: the one everyone pictures
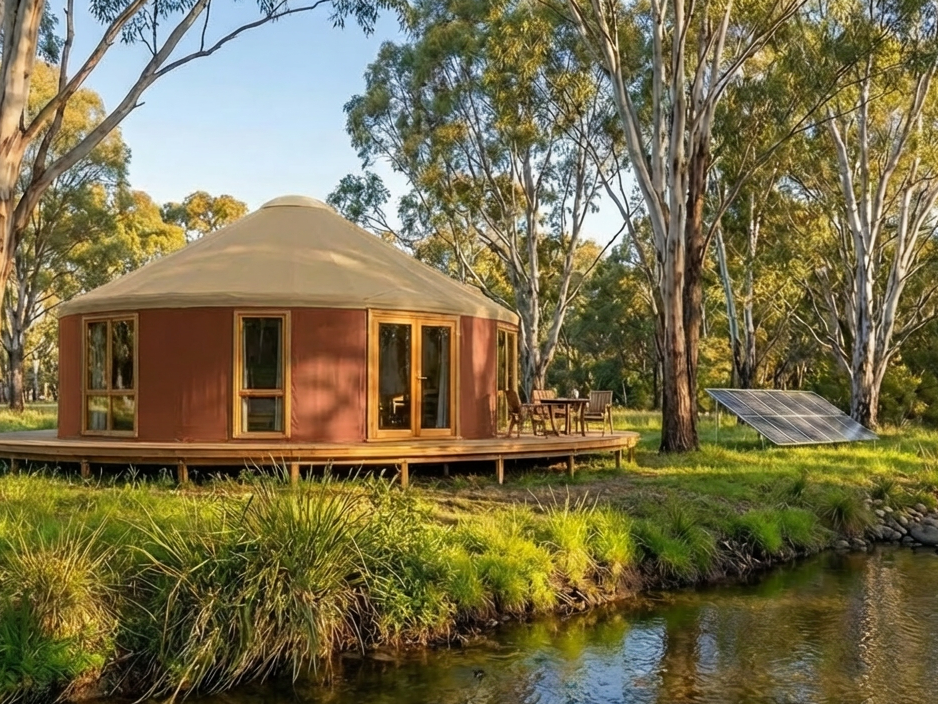
Nothing beats a small wood fire in a yurt on a cold night. The flame glow against a circular interior is the reason a lot of people fall for yurt life in the first place, and a good slow-combustion unit will hold heat for hours. Wood is also cheap or free if you have timber on your block, and it needs no electricity at all, which makes it a strong pick for heating a yurt full-time off grid.
The trade-offs are real, though. You need a proper flue kit and heat shield to pass a flue safely through a fabric roof, you have to keep clearances right, and you will be carrying wood and cleaning ash. It is the most hands-on option, and the one with the most safety detail to get correct. More on that further down.
Diesel heater: the off-grid workhorse
If you want warmth without the chopping, hauling and ash, a diesel air heater is hard to beat. It draws very little battery power for the fan, runs on a small tank of diesel, and a lot of units come with a thermostat and timer so the space is warm before you even get out of bed. For heating a yurt used as glamping, where you cannot expect guests to manage a fire, this is often my first recommendation.
I send plenty of people to our friends at DieselHeat in Tasmania, who build quality diesel heating and hot water systems designed for tiny houses, cabins and off-grid spaces. The cheap units off the internet can be hit and miss, so it pays to buy something built for the job.
Reverse-cycle split: two jobs, one box
A reverse-cycle split system heats in winter and cools in summer, runs on a timer, and is about as low-fuss as it gets. For heating a yurt on grid it is a no-brainer. Because the space is compact you do not need a big unit, so a small split goes a long way.
Off grid, it can absolutely work, but only on a properly sized solar and battery setup. Run it through the cold months on an undersized system and you will be watching your battery percentage drop all evening. If a split is your plan, design the power around it from the start rather than bolting it on later.
Electric panel or oil column: the simple top-up
A panel heater or oil column is cheap to buy and dead simple to use, which makes it fine for a studio, art space or weekender you only heat now and then. The downside is that it pulls a lot of power for the heat it gives, so it is a poor match for off-grid life unless you have power to spare. Treat these as a backup or a quick top-up, not the main answer for heating a yurt full-time.
What heating a yurt actually costs
Two numbers matter when heating a yurt: what the heater costs to buy and install, and what it costs to run through a winter. Running cost is where the four options really separate, especially off grid. Here is a realistic guide based on what we see clients spend. Treat these as ballparks, since fuel prices, climate and how much you use the space all move the figures.
| Option | Buy + install | Rough running cost | Effort |
|---|---|---|---|
| Wood heater | $1,200-$3,500 with flue kit | Low if you have your own wood | High |
| Diesel heater | $400-$2,500 | Modest, a few litres of diesel a day in cold weather | Low |
| Reverse-cycle split | $700-$1,800 | Cheap on grid, free-ish on good solar | Very low |
| Electric panel / oil column | $80-$300 | High on grid, very heavy on batteries | Very low |
My take: For full-time off-grid living, a wood heater or a quality diesel unit usually wins on running cost. When we lived in our 8m Yurt full-time we had both, that way we could have the ambience of a fire when we wanted it, but the convenience of hitting the switch at 4am and waking up to a warm yurt an hour later. For a studio or weekender on grid, a small reverse-cycle split is the easiest life. Match heating a yurt to how you live, not to what looks good in a photo.
Sizing your heater without going overboard
The most common mistake I see is people buying way too much heater. They picture a tent, panic, and order something built for a barn. Then the yurt cooks them out in twenty minutes and they are opening the door in the middle of winter. Because the space is insulated and compact, heating a yurt needs far less grunt than you think.
As a rough starting point for heating a yurt or dome in a cool Australian climate, a 5m structure is comfortable with around 2 to 3kW of heat output, a 6m to 7m structure with around 3 to 5kW, and an 8m structure with around 5 to 6kW. Colder alpine sites push you toward the top of those ranges, milder coastal spots toward the bottom. A small wood heater rated for a modest room, a 5kW diesel unit, or a 2.5kW reverse-cycle split will cover most yurts comfortably.
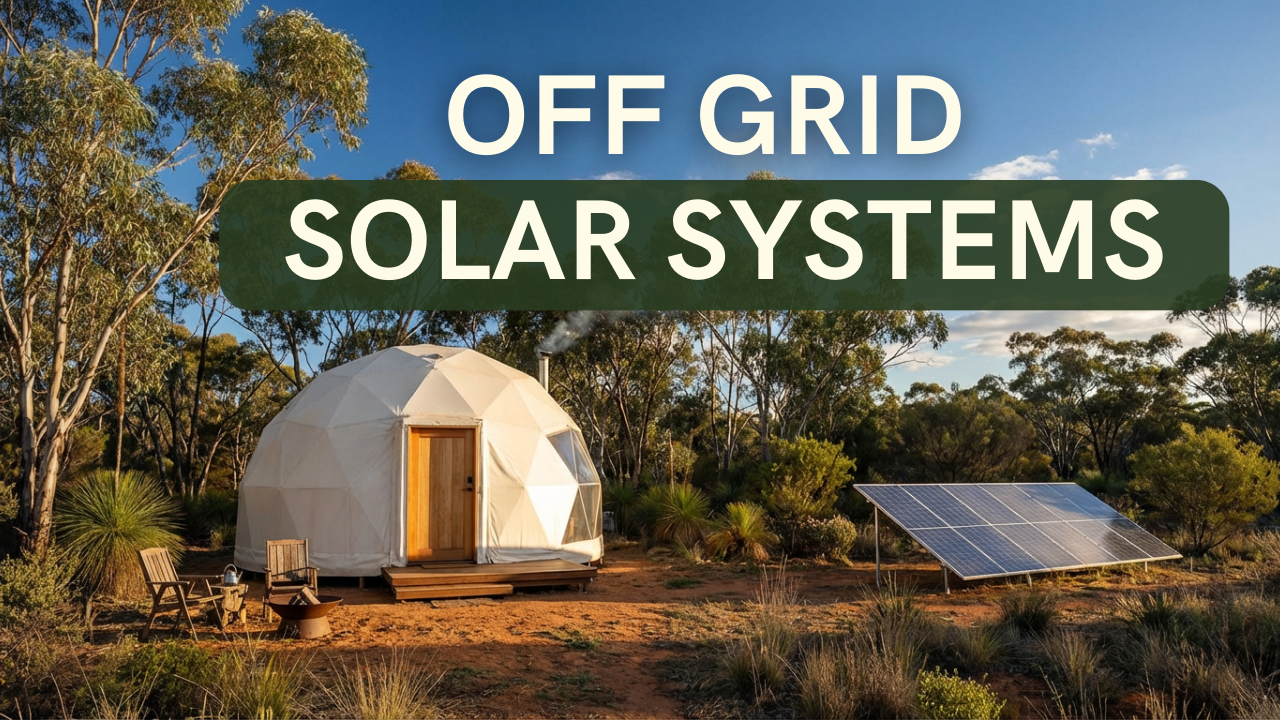
Heating a yurt off grid without flattening your batteries
Off grid is where heating choices really count, because winter is exactly when your solar is producing the least. Short days and grey skies mean your panels are working part-time just as your heating need peaks. This is the season that catches people out, and where heating a yurt off grid needs a bit of planning.
The smart move is to pick a heater that does not lean on your batteries for the heat itself. A wood heater uses zero power. A diesel heater only sips a little to run its fan and pump. Both leave your stored solar for lights, fridge and devices, which is why they suit heating a yurt off grid so well. A reverse-cycle split or an electric heater, by contrast, turns your battery bank into your fuel tank, and in midwinter that tank refills slowly.
If you want to run electric heating off grid, the answer is to design the power system around that load from day one. I break down how to size solar and batteries for real heating and cooling loads in our off grid solar systems Australia guide, and it is essential reading if electric warmth is part of your plan.
Wood heater safety in a fabric-roofed yurt
Heating a yurt with a wood fire inside a fabric-roofed structure is completely doable, and thousands of people around the world do it, but it is the one area where you do not cut corners or guess. Get this right and it is safe and lovely. Get it wrong and the stakes are obvious.
The flue is the heart of it. You need a purpose-made flue kit with a heat shield and a roof flashing designed to pass the pipe through the cover without contacting the fabric. Keep the clearances the manufacturer specifies between the heater, the flue and any combustible surface, and use a double or triple-skin insulated flue where it passes through the roof. A spark arrestor on top is cheap insurance, especially on a bush block.
Install a non-combustible hearth under and around the heater, fit a smoke alarm and a carbon monoxide alarm, and keep an extinguisher or fire blanket within reach. Make sure your wood heater meets the relevant Australian standard and is installed to the manufacturer’s instructions. The Australian Government’s YourHome guide to heating and cooling is a good plain-English reference on running a wood heater cleanly and safely.
Worth checking: If you are renting the yurt out, or you are in a bushfire-prone area with a BAL rating, talk to your insurer and council about solid fuel heating before you install. A diesel heater can be a simpler path for glamping setups because there is no open flame for guests to manage.
The winter trap nobody warns you about: condensation
Here is the issue that turns a warm winter into a damp one. When you are heating a yurt and cooking, showering and breathing inside it, you make a lot of moisture. If that warm wet air hits a cold surface with nowhere to vent, you get condensation, and over time that can mean mould.
The fix is not to seal the place up tighter. It is to keep the right layers in place (outer cover, insulation, inner liner) and to give moist air a way out. Cracking the roof dome slightly during install can give just enough ventilation without losing all your heat, leave a small gap behind cupboards and the bed so air can move, and in a really wet region a small dehumidifier earns its keep during long stretches of rain. Done right, your yurt feels like a snug cabin rather than a damp swag. I cover the layering side of this in more detail in the insulation guide.
Can you really live in a yurt through winter full-time?
Plenty of our clients do, right across the country, and heating a yurt through winter is a big part of making it work. Dave runs his 8m yurt as off-grid accommodation here in WA, and the cold months are no drama once the floor, insulation and heating are sorted. Stu’s 6m dome in rural Victoria stays comfortable for paying guests through a properly chilly Victorian winter, which is part of why it pulls $300-plus a night.
The people who make winter living work are not doing anything clever. They insulated the floor, they did not skimp on the cover and liner, they picked a heater that suits their power setup, and they ventilate sensibly. If you are weighing up full-time yurt life, our guide on whether you can live in a yurt in Australia walks through the council and lifestyle side so you go in with eyes open.
One last honest note on the building itself. Your frame will last decades with simple care, but the outer cover is a consumable, lasting around 7 years depending on climate and UV. A good cover and a well-sealed structure is what keeps the cold out, so looking after it is part of staying warm.
My quick checklist for heating a yurt in winter
1. Insulate the floor, or you will fight cold feet all season.
2. Check insulation coverage and seal draughts around the door, windows and roof ring.
3. Pick a heater that suits your power: wood or diesel off grid, reverse-cycle on grid.
4. Size it for the space, not the fear. Smaller than you think is usually right.
5. If it is a wood heater, use a proper flue kit, keep clearances, and fit smoke and carbon monoxide alarms.
6. Ventilate while cooking and showering so moisture has a way out.
Frequently asked questions
Is a wood heater safe in a yurt?
Yes, with the right setup. You need a purpose-made flue kit with a heat shield and roof flashing, correct clearances, a non-combustible hearth, and smoke and carbon monoxide alarms. Use a heater that meets the Australian standard and install it to the manufacturer’s instructions. If you are unsure, get a qualified installer to do the flue.
What is the cheapest way of heating a yurt off grid?
If you have timber on your block, a wood heater is the cheapest to run because the fuel is free and it uses no power. A diesel heater is the next best for hands-off warmth, since it sips only a little battery power for the fan. Electric heaters are the most expensive to run off grid.
How big a heater do I need for a 6m yurt or dome?
For heating a yurt or dome of 6m in a cool climate, around 3 to 5kW of heat output is usually plenty. A small wood heater, a 5kW diesel unit, or a 2.5kW reverse-cycle split will all do the job. Lean toward the higher end for frosty alpine sites and the lower end for mild coastal spots.
Will a yurt hold heat overnight?
A well-insulated yurt or dome with an insulated floor holds heat well, which makes heating a yurt overnight straightforward. A slow-combustion wood heater can keep things warm for hours after the fire dies down, and a diesel heater on a thermostat will tick over through the night. The cold floor is what usually robs heat, so sort that first.
Let’s get your yurt or dome winter-ready
Tell me your diameter, your location, and how you want to use the space, and I will help you pick the right setup for heating a yurt in your climate and on your power system. I have helped hundreds of Aussies and Kiwis get this right, and I am happy to talk it through before you spend a dollar.
Call or text Ryan: +61 489 269 088
Email: hello@yurtinthedirt.com.au
 0 Comments
 Share
Share By Ryan Smith