hello@yurtinthedirt.com.au
 +61 489 269 088


 0 Comments
 Share
Share
Are you intrigued by the idea of building your own yurt? Whether you’re drawn to a minimalist lifestyle or simply looking for a unique weekender / off grid retreat, understanding the build process can help you decide if a Yurt is right for you. If you’re more of a visual learner, don’t worry—we’ve embedded our tutorial video just below, so you can watch the entire process in action.
Ever dreamed of adding extra space without the hefty price tag or endless wait for contractors? At Yurt in the Dirt, we’ve designed our yurts to be installed by anyone willing to roll up their sleeves and embrace a bit of DIY spirit.
I’m Ryan, and a few years ago, I was in the same boat as many of you—looking for an affordable, flexible living solution during the housing squeeze. After experiencing firsthand how game-changing these structures can be, I’ve refined our designs specifically for the Australian and New Zealand landscape.
The best part? You can transform your space in just three days with no tradies required—just some friends, basic tools, and our step-by-step guidance.
What Makes Yurt Installation So Achievable?
When people hear “build your own structure,” they often imagine complicated blueprints and specialized skills. But installing a Yurt in the Dirt is refreshingly straightforward.
All you need is:
- A solid foundation (timber deck, concrete slab, or steel frame)
- Basic tools you probably already have
- A few friends to help (it’s the perfect excuse for a working bee!)
The Five Key Stages of Yurt Installation
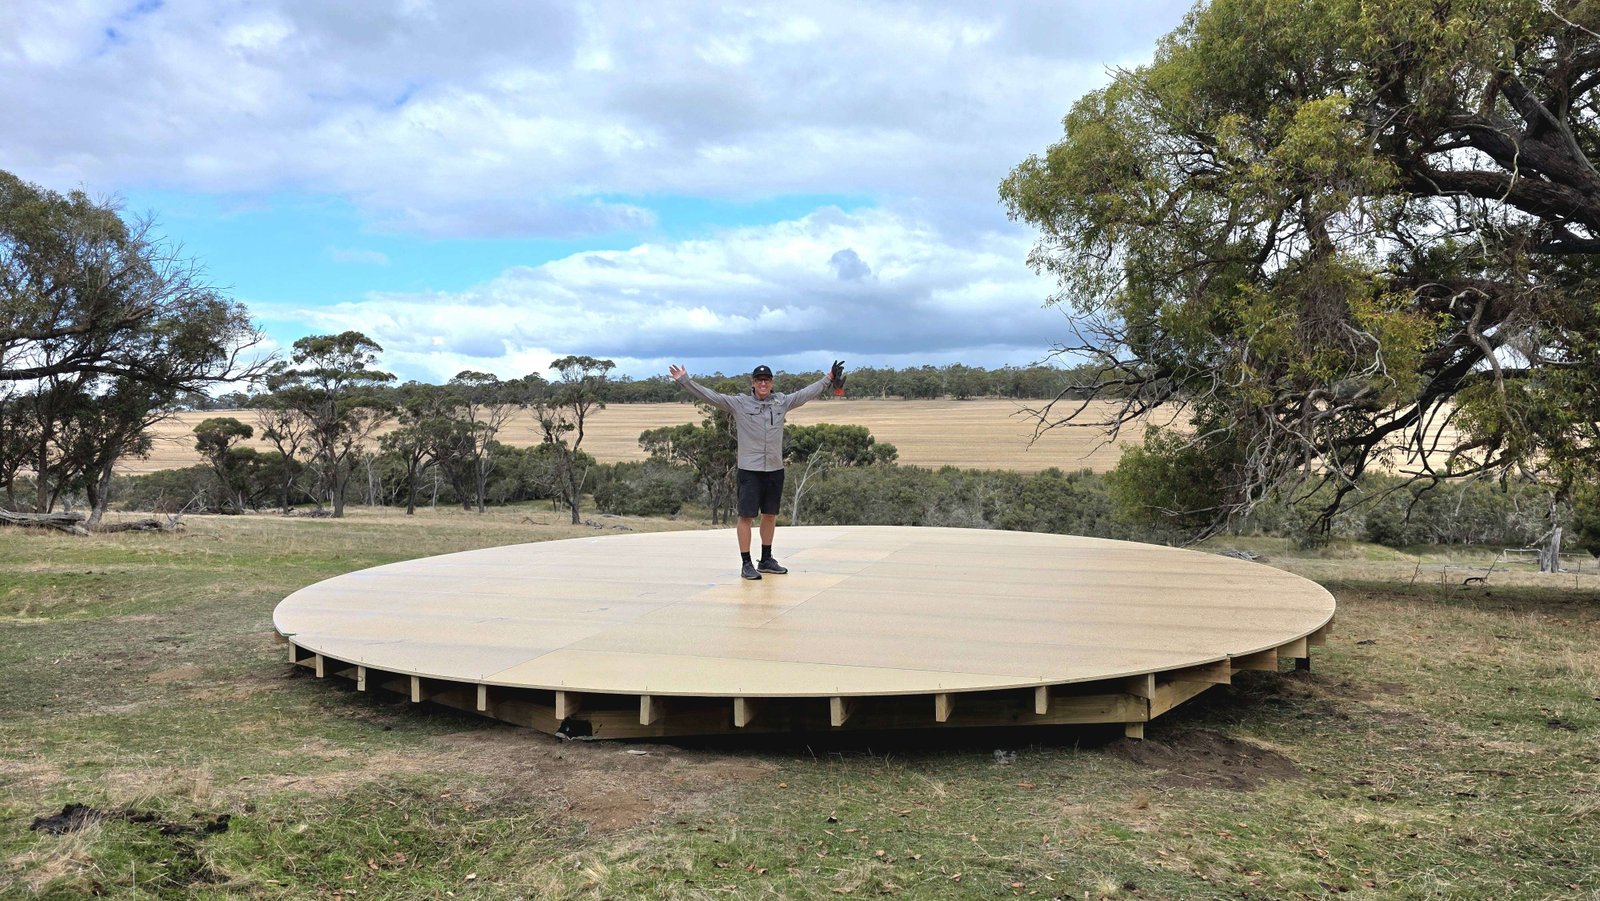
1. Creating Your Circle
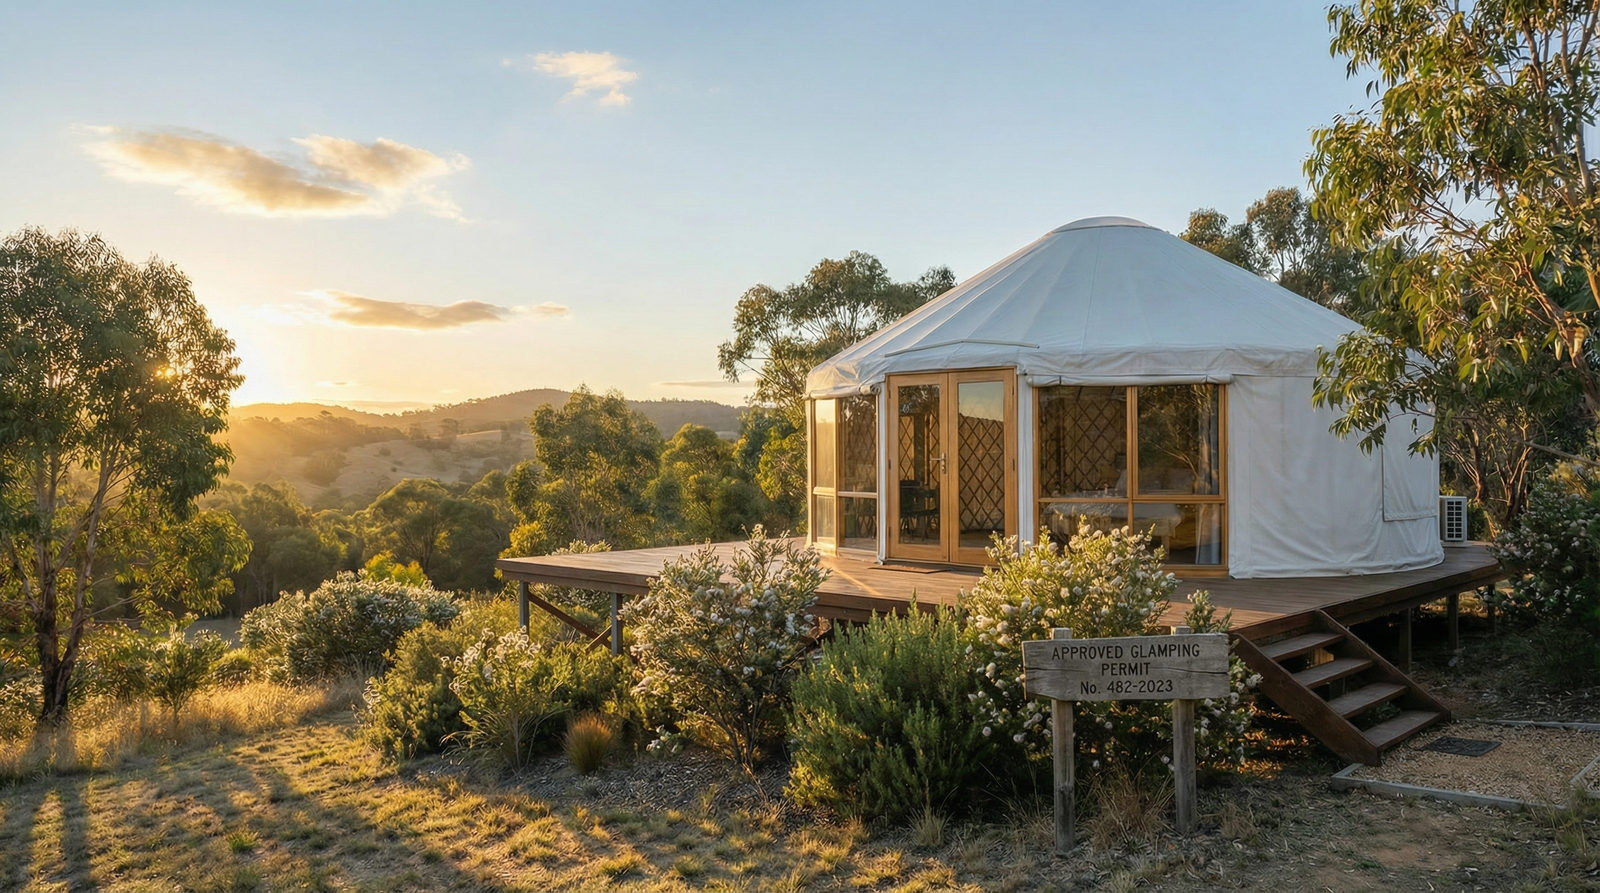
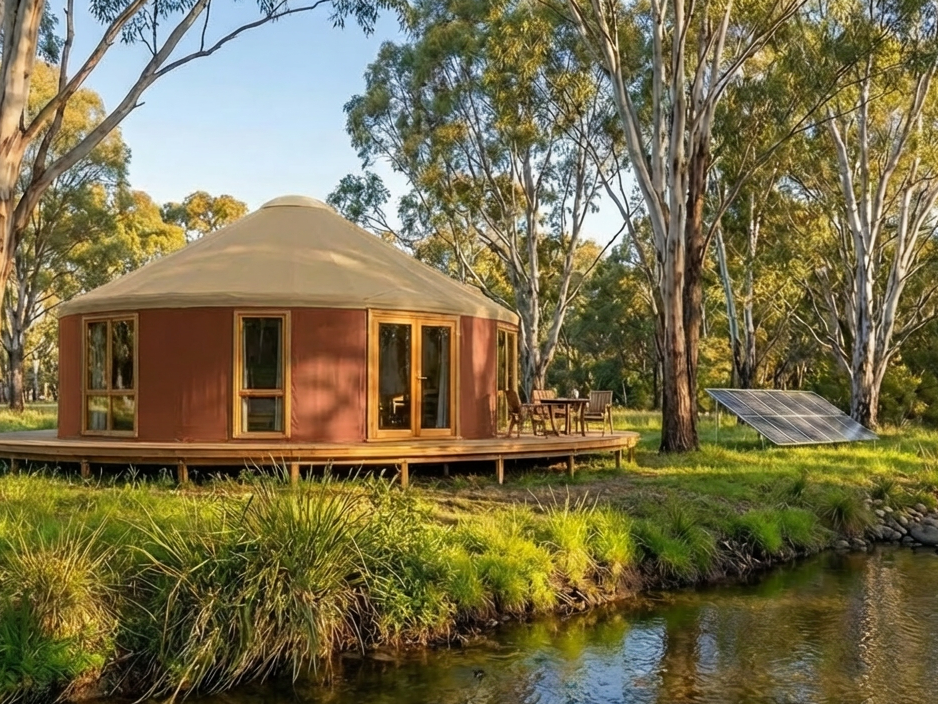
The magic begins with assembling the circular base that gives yurts their unique shape. This circular design isn’t just aesthetically pleasing—it creates an incredibly efficient use of space with no wasted corners.
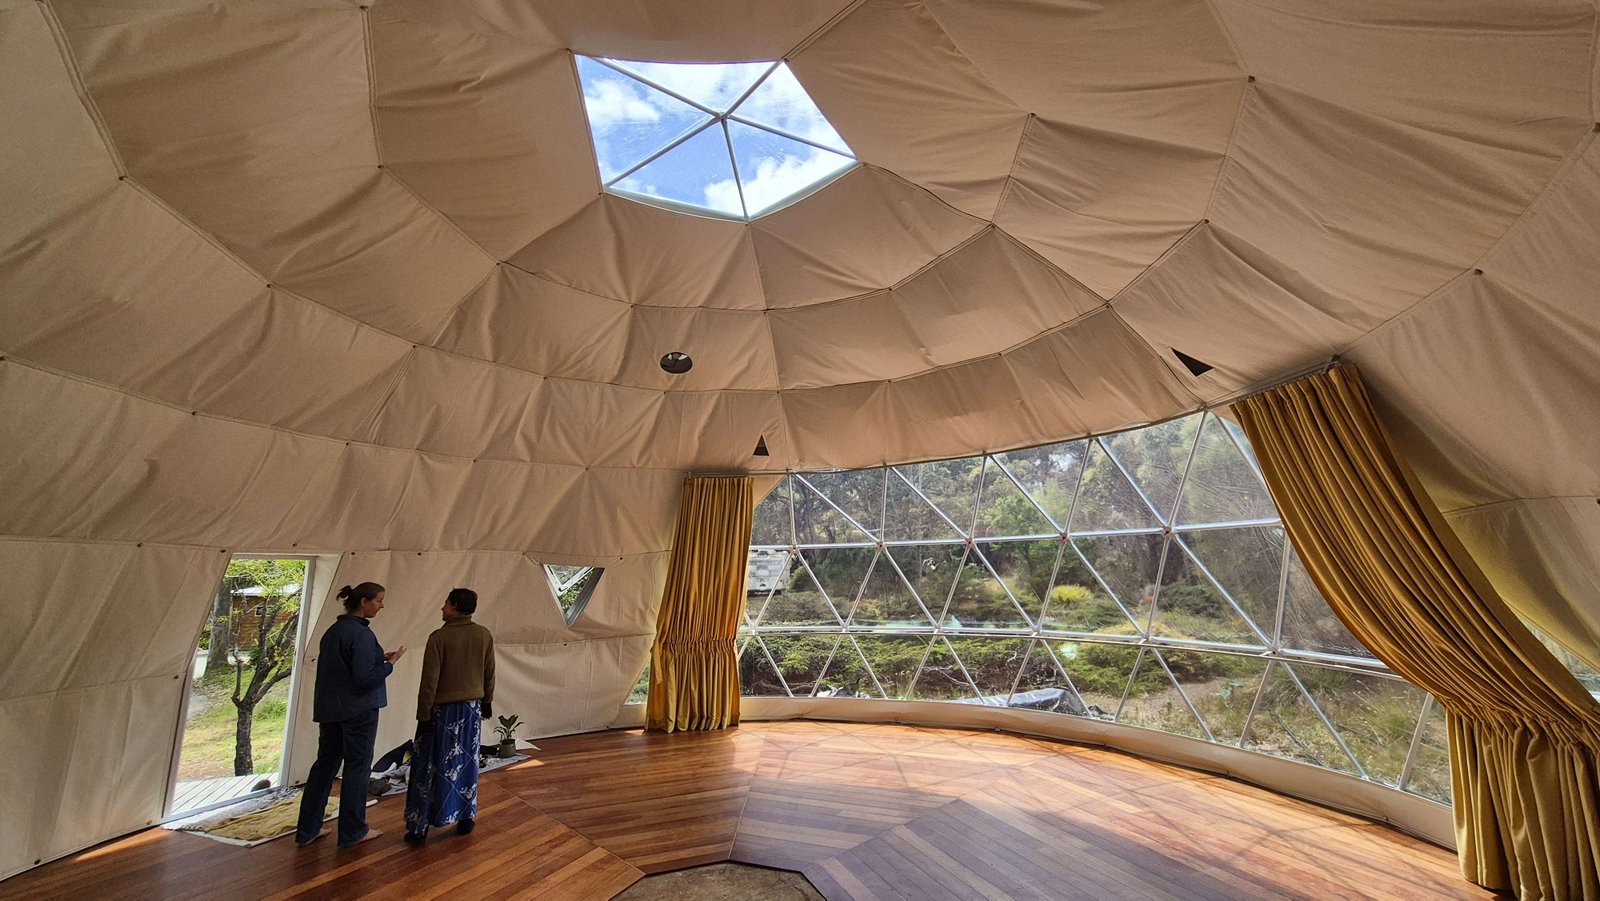
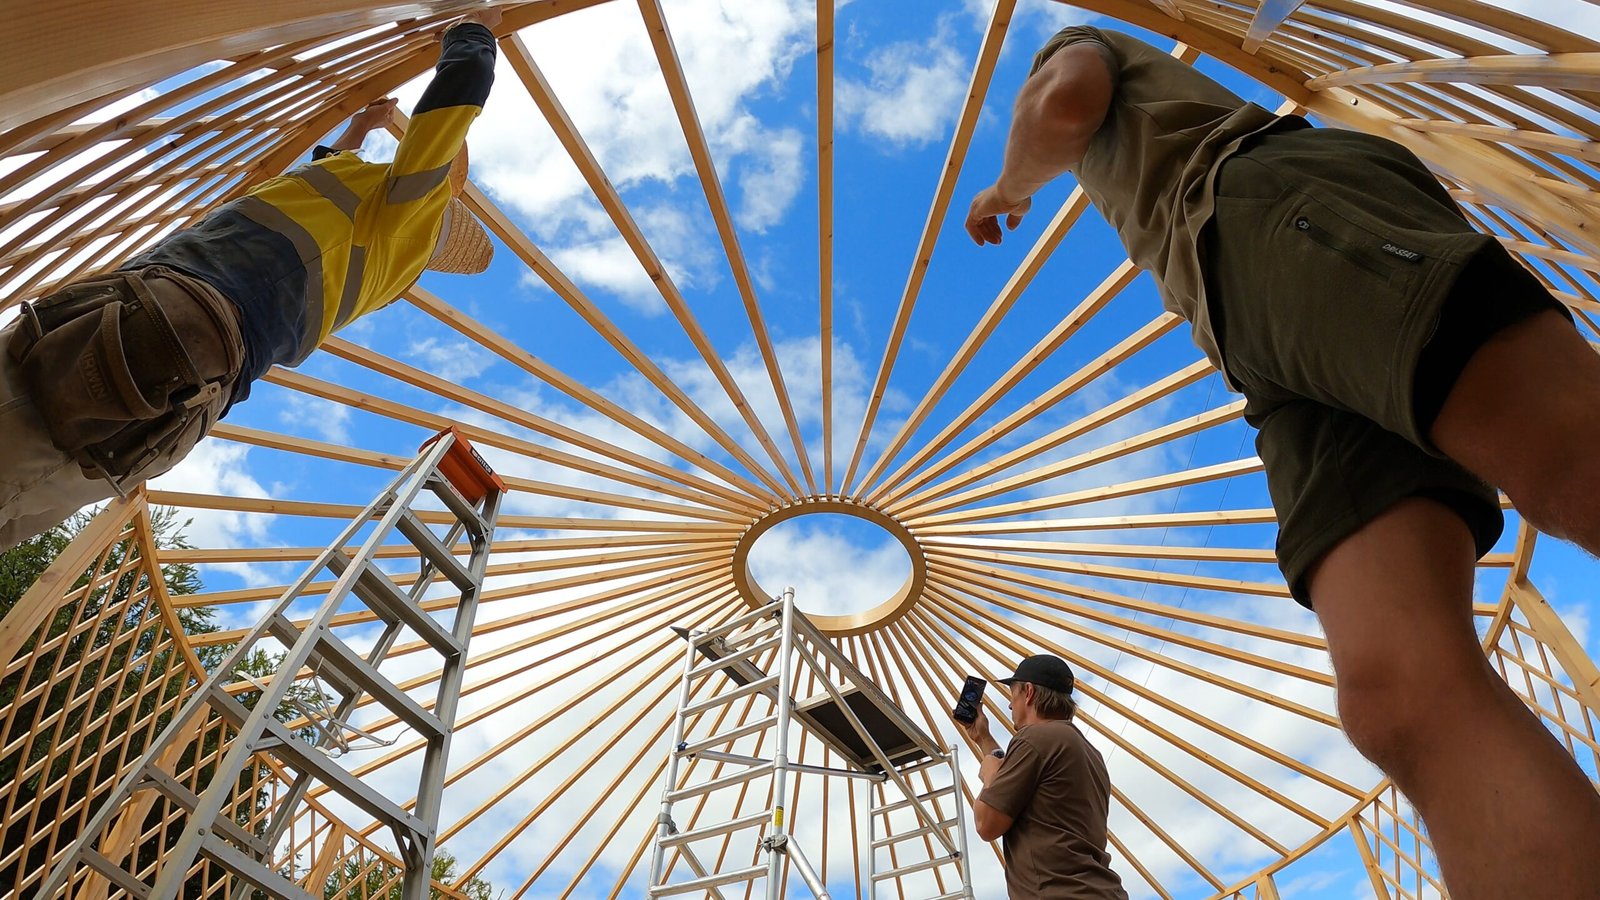
2. Raising the Iconic Dome
The dome transforms your yurt from a simple circular wall into a spacious, airy structure. There’s something magical about the moment when the dome takes shape and you’re suddenly standing inside a space that feels surprisingly open and roomy.
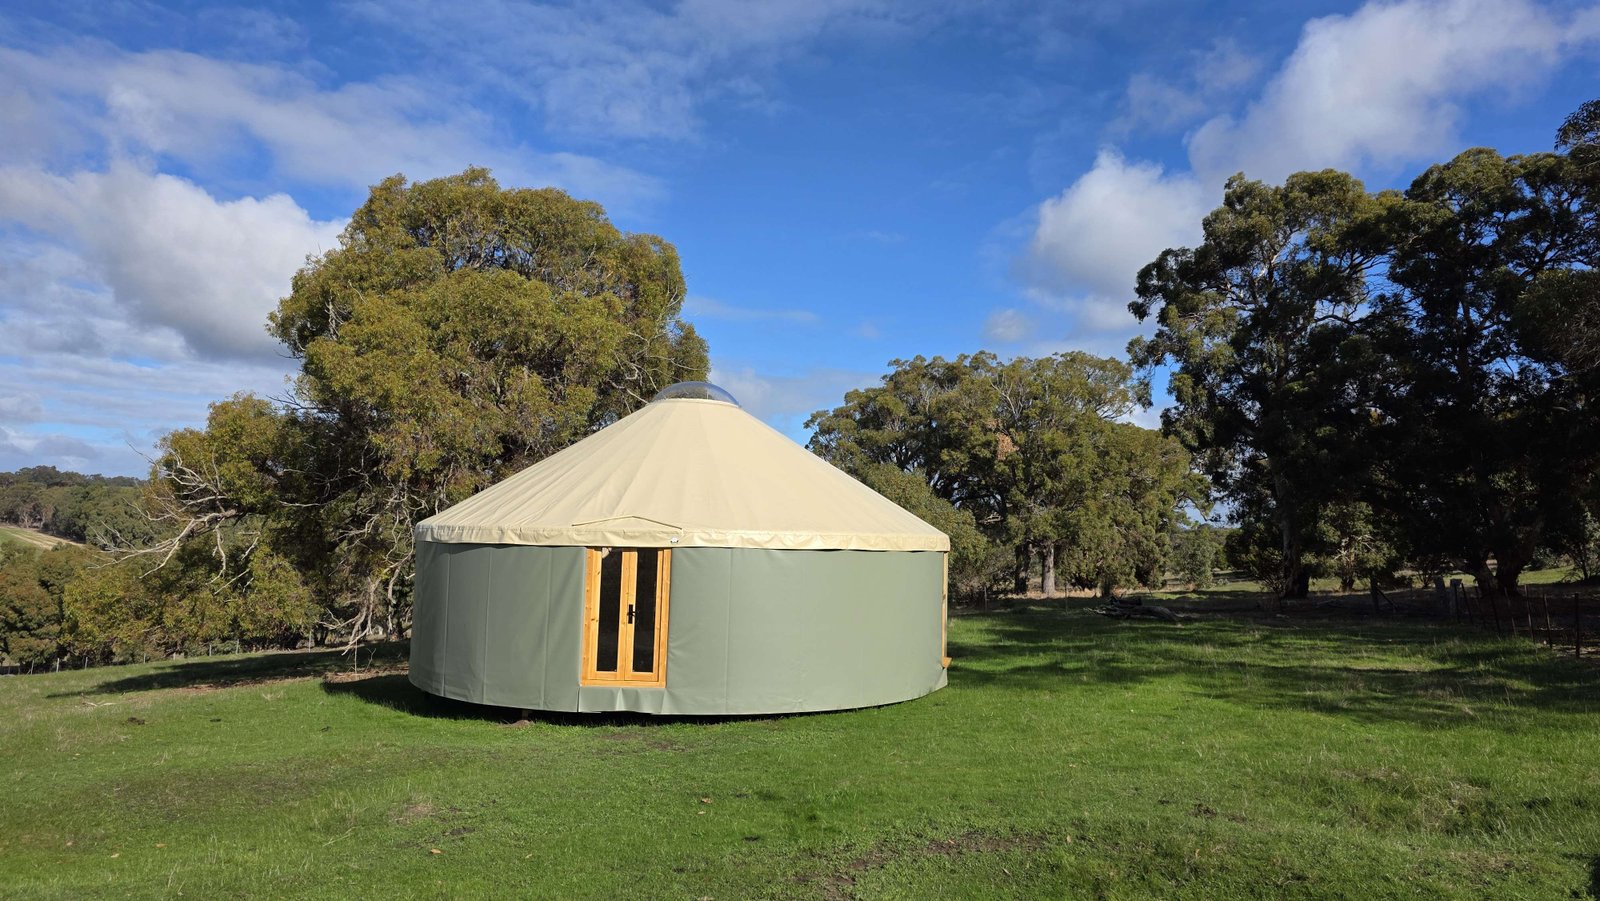
3. Adding Weather Protection
Your yurt becomes a proper living space when you add the multi-layer covering system. This is what makes your yurt so much more than a tent—keeping you comfortable through hot summers and cool winters alike.
4. Installing Doors and Windows
These finishing elements transform your structure into a functional space with security, natural light, and ventilation.
5. Making It Your Own
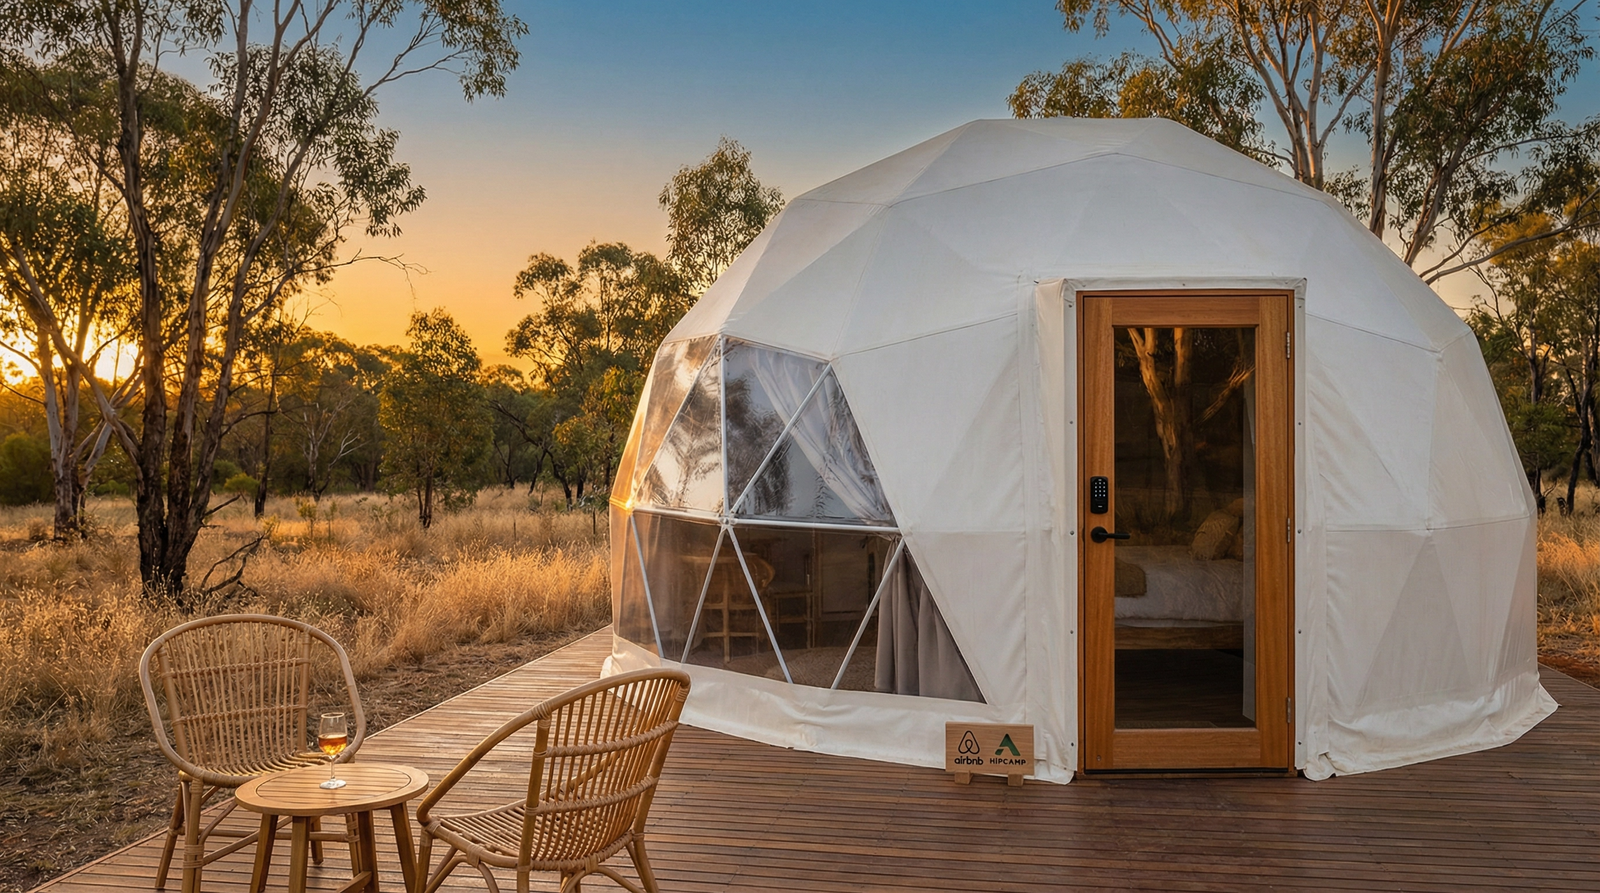
After just three days of work, you’ll have a versatile structure ready for whatever purpose you’ve imagined—from peaceful yoga studios to profitable glamping accommodations, creative workspaces to cozy guest quarters.
Why Our Customers Love Their Yurts
The beauty of a yurt is its adaptability. The circular space creates a natural flow, while the dome ceiling provides remarkable headroom and a sense of spaciousness that surprises most first-time builders.
Unlike traditional construction, your yurt can evolve with your needs. Need to relocate? Your yurt can move with you. Want to expand? Add another yurt or dome to create a compound. The possibilities are limited only by your imagination.
Ready to Join Our Community of DIY Builders?
Download our Ultimate Yurt and Dome Buyers Guide and receive a $500 discount off your purchase! We also provide free decking plans for all our yurt sizes and comprehensive installation videos to guide you through the process.
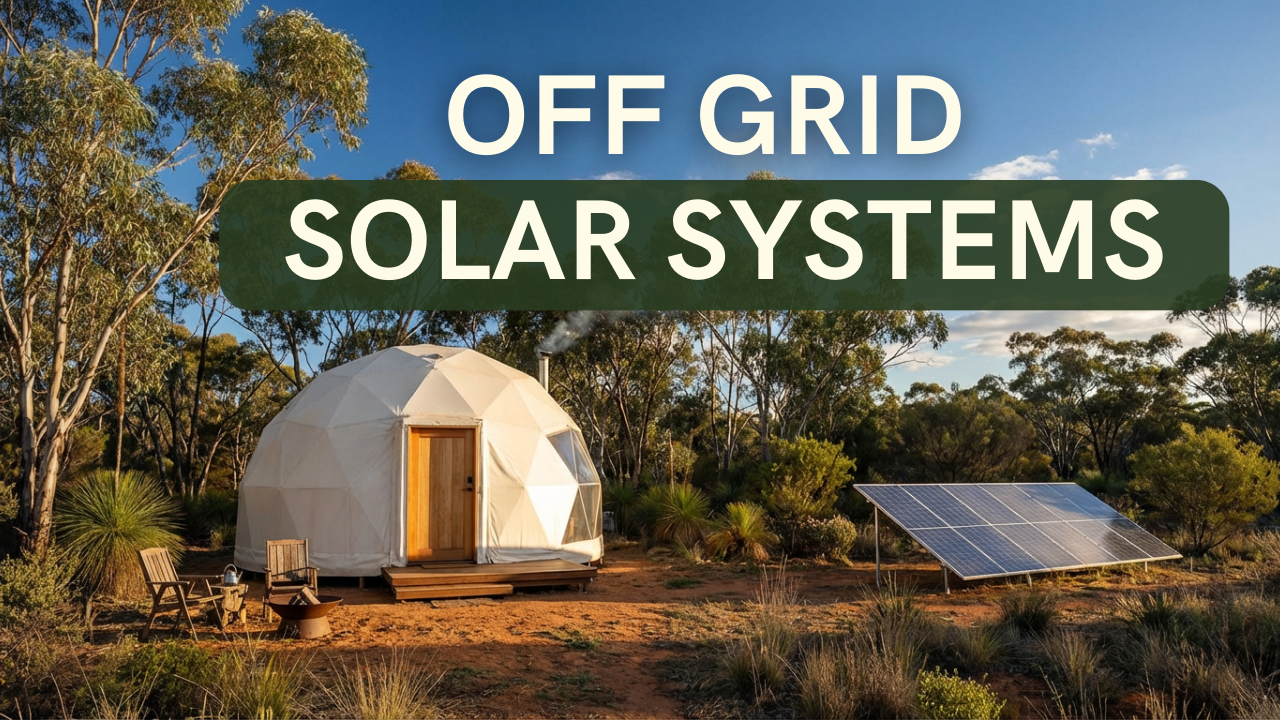
Remember, with Yurt in the Dirt, you can get the extra space you need in just 3 days – no tradies required. Whether you’re dreaming of an off-grid retreat, yoga studio, or guest accommodation, your perfect space is just a weekend project away.
Questions? Reach out to us at hello@yurtinthedirt.com.au or call +61 0489 269 088
 0 Comments
 Share
Share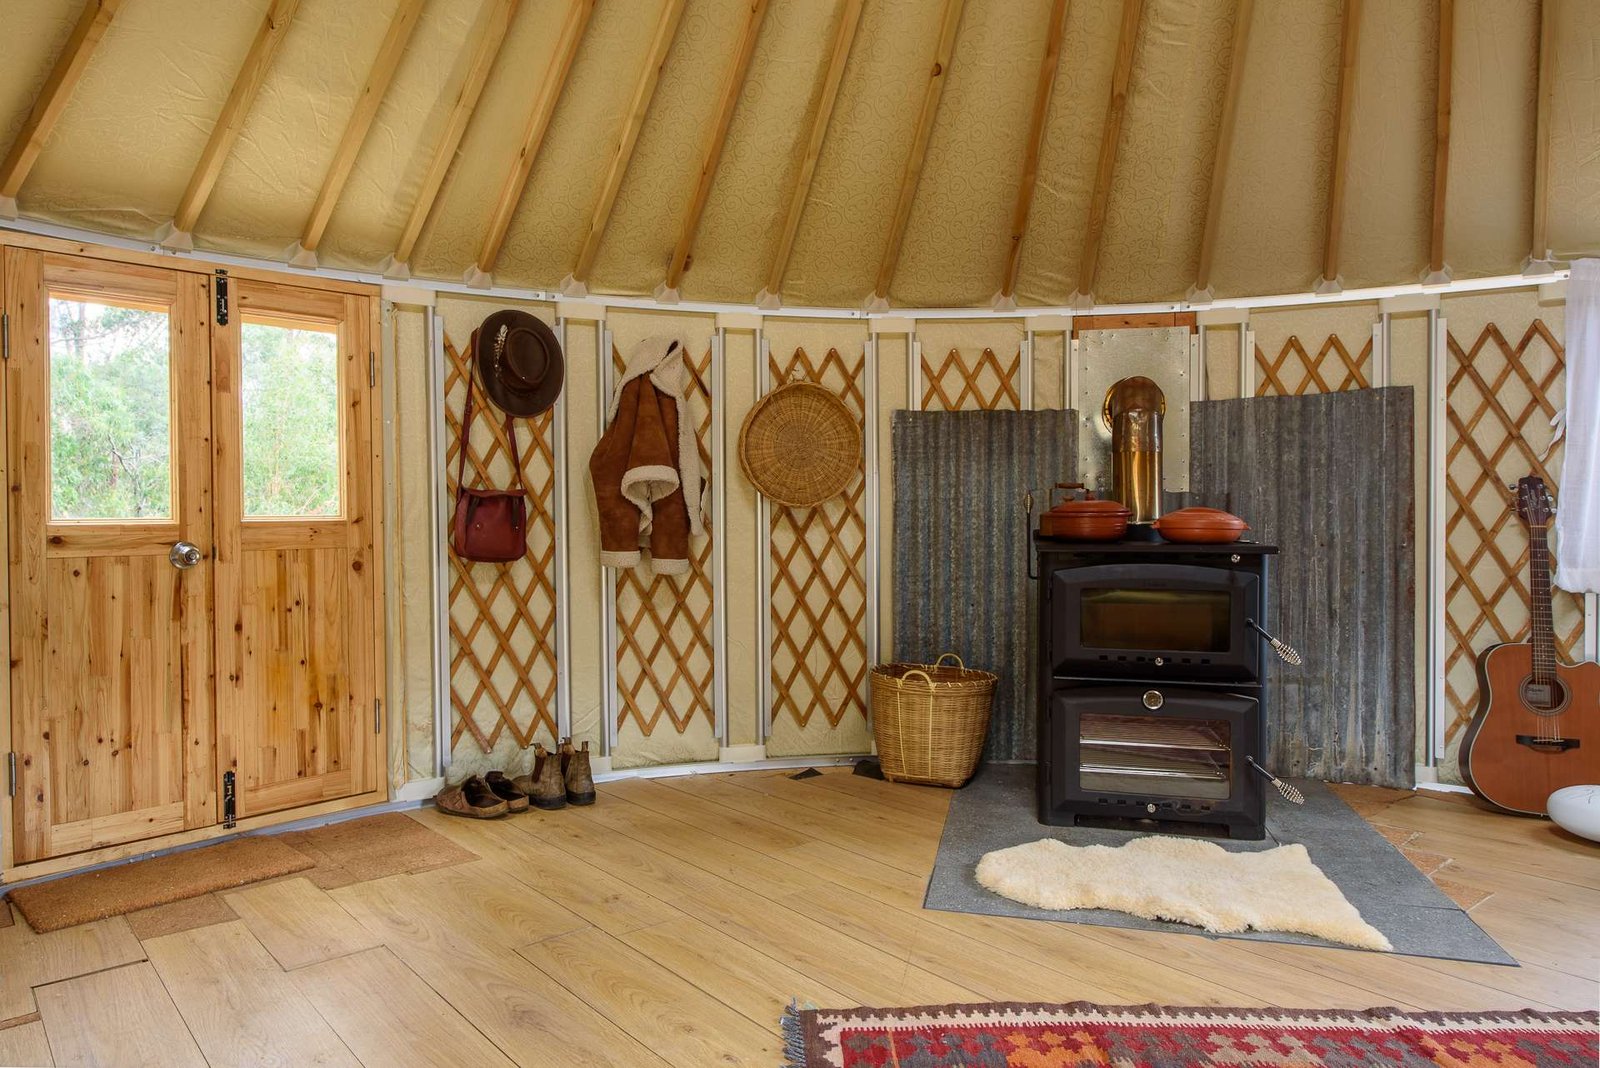
 By Ryan Smith